
How to Prep Task Boxes for Special Education -Adapted Book Style

Do you ever wonder how to prep task boxes for special education, prek or kindergarten classrooms? If so, you’re in the right place! I’m going to walk you through step by step instructions on how to prep task cards that you can use for task boxes, literacy and math centers, morning tubs, or bin system activities.
Or, if you're a parent, and you want to know how to make a busy box for toddlers or preschoolers to keep them occupied at restaurants or appointments, this post is also for you!
In this post I’ll cover how to make a task box (just simple easy to make task cards), but I’ll also cover how you can add in one extra step to take your task box to a whole new level! I’ll also leave you with a FREE task box printable so you can make your own!
So, let’s dive in!
I fell in love with this idea and I’m so excited to finally be able to share with you my
Adapted Book Style Task Boxes


Yep! It’s like task boxes and adapted books had a baby!
Isn’t it beautiful? I’m in love!
Alright, I know you have a million things on your plate, so let’s not waste any time! Here are the steps that we will be going through in order to prep this new type of task box. I’ll go through each step in detail below.
Step 1. Download the printable
Step 2. Print the PDF
Step 3. Cut out the task cards and pieces (optional at this stage)
Step 4. Laminate
Step 5. Cut out the laminated task cards and pieces
Step 6. Bind (optional, and you don’t need a binding machine)
Step 7. Add Velcro
Step 8. Attach your label
Step 9. Put your task cards / adapted book inside your box.
Step 10. Pour yourself your favorite drink to celebrate being done!
I often get DMs asking where I found my task boxes and some of the other items that I use, so throughout this post I will link to the specific products that I love. ***As an Amazon Associate I earn from qualifying purchases made using these links, so if you do use them, thank you for supporting my small business!
Step 1. Download the printable
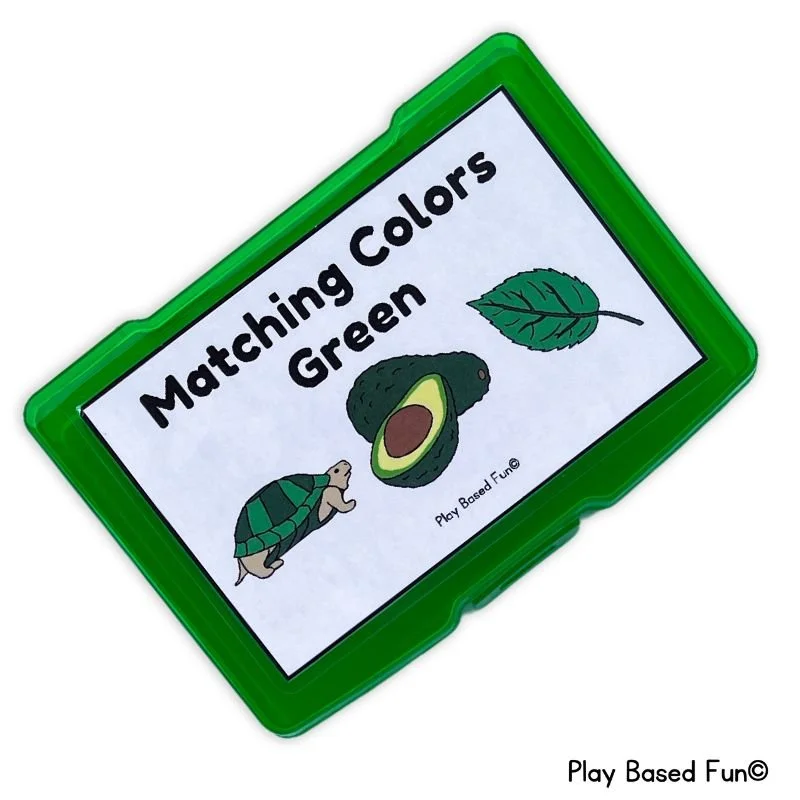
Over the past couple months I’ve been working hard to create multiple boxes so that you’ll have a selection to choose from. So far I’ve created 15 boxes, with many more on the way! You can download these individually, or as sets (bundles). Right now there are two sets available: color matching, and basic math skills. I’ve posted my Bee Counting Adapted Book Style Task Box for free, if you’d like to try it out!


Step 2. Print the PDF
Once you’ve downloaded the printable that you’d like to create, it’s time to print! Hopefully you have access to printing at your workplace, but if you don’t, and you do a lot of color printing, I’d highly recommend the Epson Ecotank printer. I switched to this printer a few months ago and I’m in love with how much you can print before needing to refill your ink. I have printed in color daily since I bought it about three months ago, and I still have so much ink left. You can actually see my ink levels in this photo.

Step 3. Cut Out the Task Cards and Pieces (optional)
So… if you’ve been laminating for a while, you might already know that there are two types of people in the lamination world. There are people who prefer the cut-laminate-cut method, and there are people who prefer just to simply laminate and then cut. The reason some people cut first is because laminating can peel apart more easily if it’s not pre-cut. I personally pre-cut for the first fifteen years of my career, and only recently switched to just laminating and then cutting. So far, I haven’t had any issues with peeling and I save SO much time! I won’t be looking back any time soon.
If you have access to a paper cutter, use it! It will save you so much time and will give you clean lines (and less peeling). This personal paper cutter is one of my favorite prep tools. Your school likely has a large cutter, or you can visit a staples print shop and use theirs. If you do a lot of activity prep though, getting one of these for your own desk is totally worth it! If you want to see this one in action, you can check out this Instagram reel.
If you do use a sharp cutter, you can save time by cutting multiple pages at once. In all my task card resources, I line up as many pages as I can so you can stack them and cut multiple at once! I know you don’t get a lot of prep time so let’s work smarter, not harder (you already work hard enough)!

Step 4. Laminate
I don’t think I’m alone when I say that this is the best part! I LOVE how nice a page looks when it comes out of the other side of the laminator! If you don’t already know what I mean, you’ll see when you do it. 😉😂
I could go on and on with tips on laminating (but I won’t). if you want to, you can take a look at my laminating tip sheet, especially if you’ve never laminated before. I’ll quickly sum up a couple of the most important tips though, because they’re worth mentioning!
TIP 1 - Line everything up in columns and rows. It makes it so much easier to cut after.
TIP 2 - Use a glue stick (not white glue) to secure pieces from shifting around.
TIP 3 - Leave a margin at the edge and in between pieces.


Here are some pictures of how I placed my task cards and pieces in my laminating sheets to make the most of the space. I’m currently using Immuson Thermal Laminating Pouches because the were the best value on Amazon. If you don’t need as many, I’d recommend Scotch or Fellowes Thermal Laminating Pouches, which are also great quality.

Don’t skip this step! One special feature of this book is the final page, which folds out as a storage page for all the pieces your students will need in order to complete the activity. To make this page, line up the finished card with the two storage cards beside it on your laminating sheet. Leave a small margin in between the cards because that’s where you will fold the page. Now run everything through your laminator! 😍
Step 5. Cut out the Laminated Task Cards and Pieces
This step is straightforward. Keep the three cards together for your last page (don’t cut them apart). Fold them up and place them under a heavy book while you cut out the rest of your pieces.
Then, cut all your other pieces out. If you placed them in straight rows/ columns, you can use a paper cutter again (yay)! The only important part here is to leave a small margin of the laminated edge on your pieces. Don’t cut right up against the card/paper because the two sides of the laminating sheet might peel apart.

Step 6. Binding (optional)
This is an optional step, and there are a couple different ways to bind your book (you don’t need a binding machine). If you don’t want to bind your pages, you can simply place the cards in the box and have your students pull them out one-by-one. BUT, in my opinion, this extra step can lead to a much more structured and organized box, and we all know our students are often more successful when tasks are more structured!
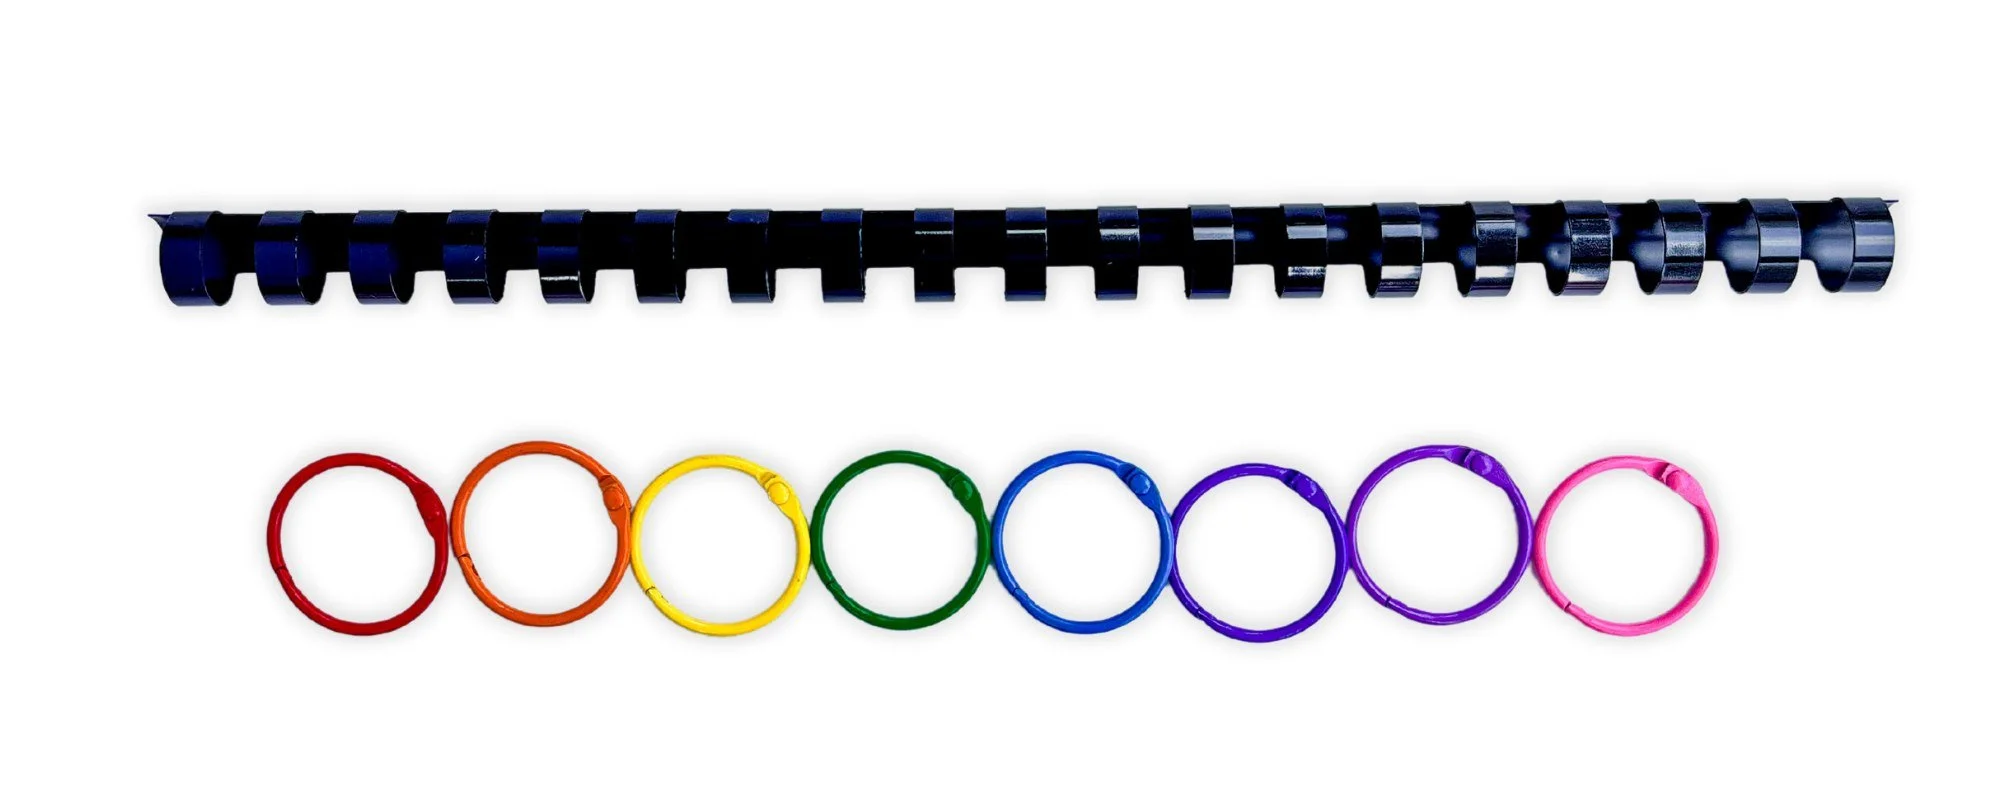
The two ways I have used to bind these books are by using binding rings and using binding combs.
Option 1: Using a binding ring to fasten your adapted book
This is a great option if you don’t have access to a binding machine. All you need is a single hole punch tool, and a binding ring (both items can be found at most dollar stores). Simply use the tool to punch a hole in the corner of each card, and then feed the ring through. Using this method you can easily add and remove, and change the order of your pages if you want to.
Option 2: Using a binding machine and binding comb (or coils) to fasten your adapted book
If you work in an educational setting, the building likely has a binding machine around somewhere. I didn’t discover the one at my school until about year 5 of being there. Find someone who has been there for a while, and ask them where it’s kept. While they’re showing you where it is, ask them for a quick demo. They aren’t hard to use but it really helps to have someone show you how it’s done. If you don’t have anyone to ask, you can type “how to use” followed by the name of your binding machine into the YouTube search bar and you’ll probably stumble across a video that will help. Or, you can send me a DM on Instagram, and I can show you a demo of mine in a quick video call (I’m happy to help)!
If your school doesn’t have one, but you really want to use one, amazon has some really affordable binding machines like this one.
Most work the same, so this is a quick rundown on how to use a binding machine to make an adapted book.


Step 1. Place your binding coil on top of the spikey pieces at the top, and pull on the small handle. This will guide the coil to open up. If it doesn’t, flip the coil around and try again (it might just be upside down or backwards). Once it’s opened, leave it and move onto the next step.
Step 2. Insert your pages (I do mine one-by-one) into a small opening at the bottom, making sure their flush against the edge, and pushed all the way back. Then, you’ll pull down on a handle that will cut the holes. Do these in order, starting with your title page.
Step 3. Once the holes are punched, place the pages upside down onto the coil (start with your title page). Repeat this for all your pages.
Step 4. Once you’ve put all your pages onto the coil, use that small handle and push it back to it’s starting position. this will close the coil, and you can remove the book.
Step 5. Remove your book from the machine.
Step 6. Lastly, trim the coil if needed.
My preference on Which Method to Use to Bind an Adapted Book
I tried out both methods and my preference was to use a binding comb to bind the task cards into an adapted book. Both methods took about the same amount of work and time to bind, and the book just turned out nicer in my opinion. Since it resembles a regular book, it comes with more familiarity. The comb also keeps the pages in their place better, which is just a nicer overall user experience. So, if you have access to a machine, I’d opt for this method.
Step 7. Add Velcro
We are in the final stretch now and just need to add finishing touches! Adding velcro is pretty straightforward. Which side of Velcro you use on your cards and your pieces comes down to personal preference. I like using rough Velcro on the main piece (the book) and soft Velcro on the smaller pieces that get touched often by students. You can buy velcro strips and dots at the dollar store, but if you make a lot of resources that use Velcro, I’d recommend investing in some good quality dots off Amazon (it’s better quality and a better value). I especially love these Velcro dots because rough side is transparent! This means that if you use adapted books that have a photograph in the place where you’d put Velcro, you can still clearly see the photo underneath (see here if you want a visual).
Add a rough velcro dot to the inside of each empty box, and a dot of soft velcro on the back of each piece. Then stick them on your storage board! YAY, your book is officially complete and now you just need to add your label to your box!
Step 8. Attaching the Task Box Label
If you want to reuse your box for another activity, you can use Velcro dots on each side of the label to stick on your label. Otherwise, just use tape (double sided or regular works just fine).
Step 9. Put your Adapted Book inside your Task Box
Yayyyyy! Your box is complete!
Simply fold up the storage card and place your book inside your box!
Well done! A+

Step 10. Celebrate
Get yourself a well deserved drink or treat. It’s time to celebrate knowing that your prepped box is done, and you can now use it for years to come!
I hope you love it as much as I do!
